There are two methods of linking users together across the system.
- As part of a hierarchy using relations
- On a one-to-one basis by defining this in the role permissions
The relations area of Kaizen is where you setup and define the hierarchies to cover point 1 and is what this page will outline. One-to-one relations are first setup from the role pages.
Step-by-step guide
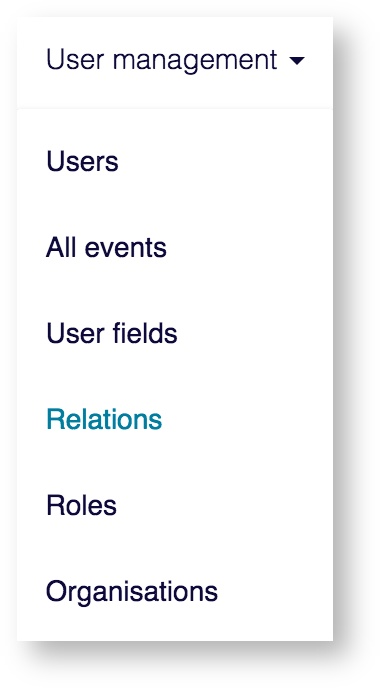
- Relations can be found inside the user management section of the menu bar. This is where you create new hierarchies and manage existing ones which can then be assigned to users.
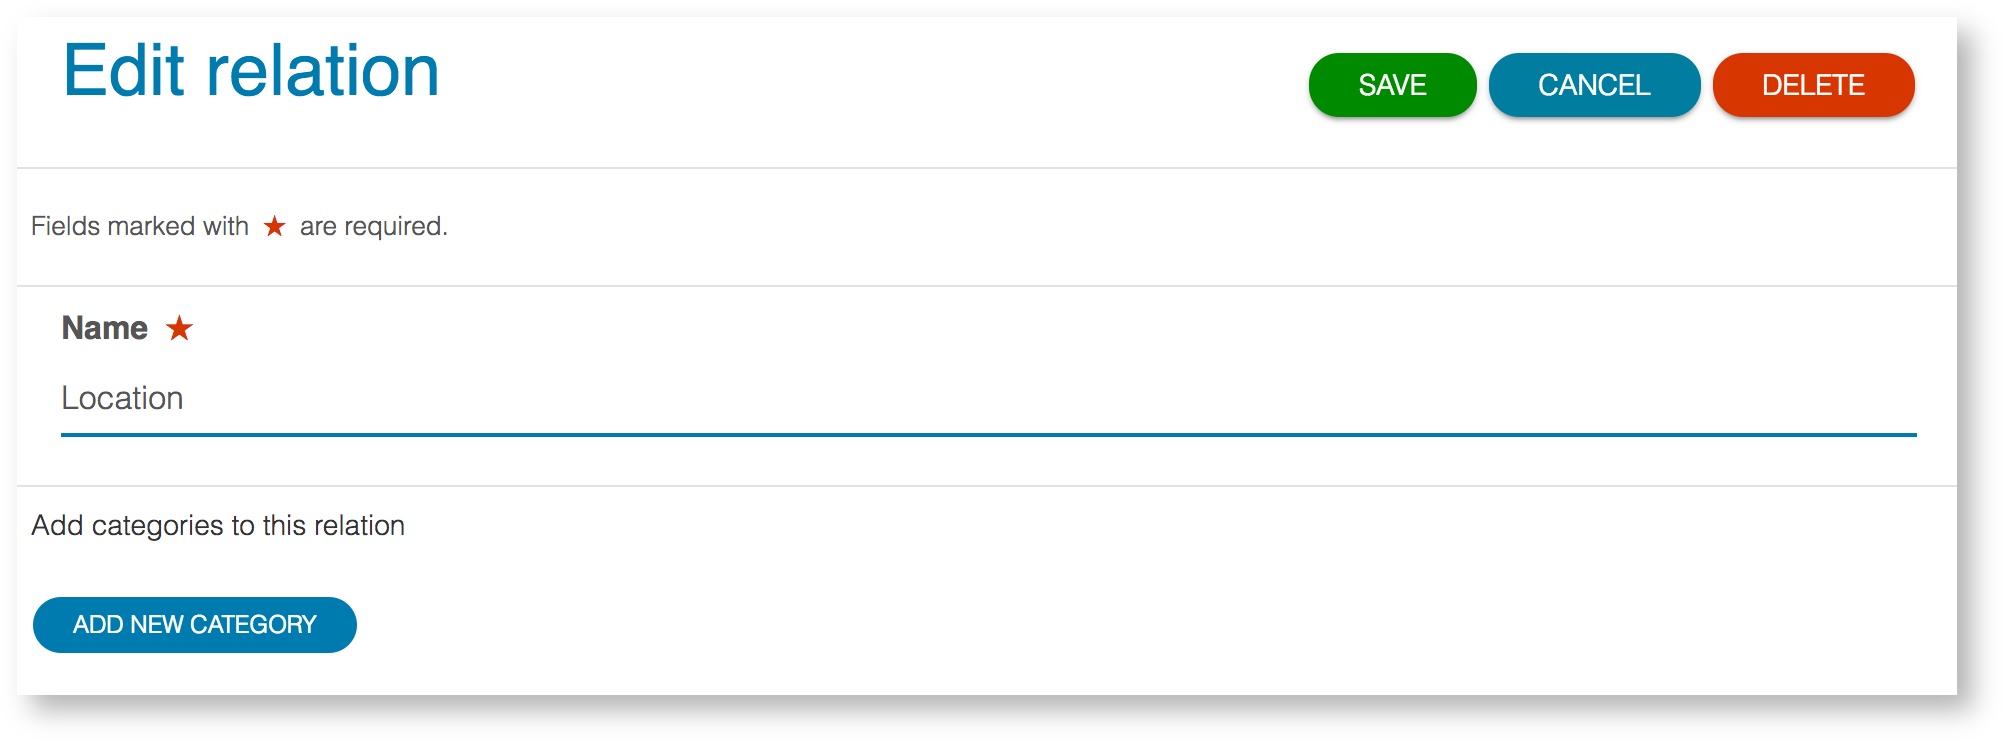
- Creating a new relation from this page will take you to the edit interface. Specify an overall name for the relation and then create your first top level item in the hierarchy by clicking the blue add new category button.
- This will display a new box where you can specify a name for the top level item. If your hierarchy has multiple top levels then they can be added again by clicking the blue add new category button.
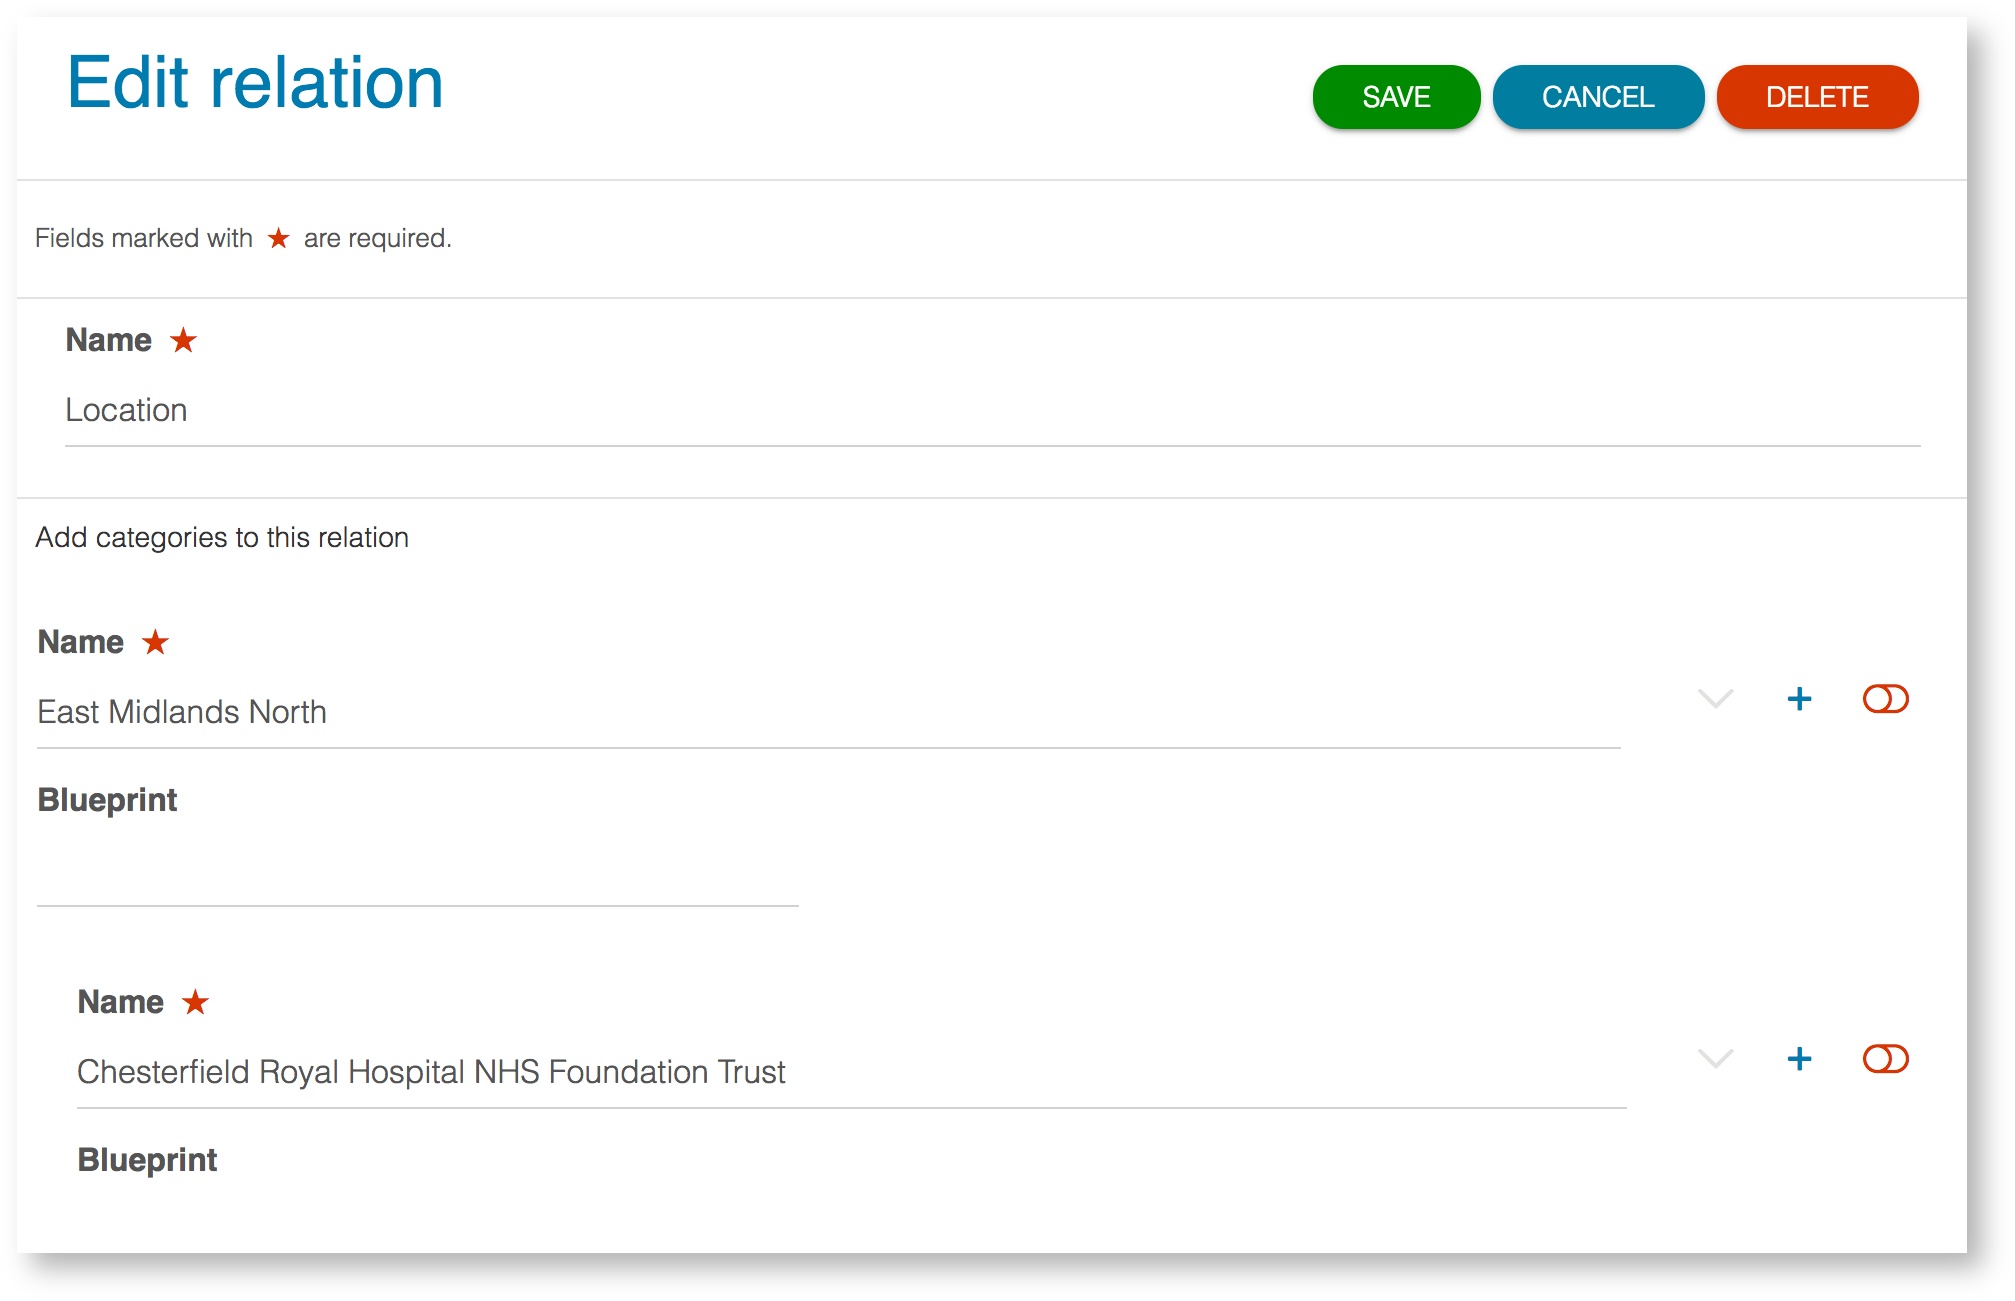
- To add nested levels press the + button against the relevant top level category. This will display a new box beneath this category for you to enter the name. Continue in this manner to create your hierarchy.
- The red slider button is used to disable a particular item. This will mean that this cannot be assigned to any users from this point forwards, unless it is enabled again. This should be used to maintain the integrity of historical data rather than simply deleting the item.
Relations need to be setup in combination with role permissions. They are assigned to users by adding them as part of an event onto their timeline and as such are time limited.
Related articles
Filter by label
There are no items with the selected labels at this time.


